EskyBot Configuration
We are going to create an EskyBot configuration by copying the TwoMotorRobot configuration in the FGCExamples project. We will use the EskyBot configuration to store references to the motor objects. We can then create multiple OpModes using the
Create the configurations package
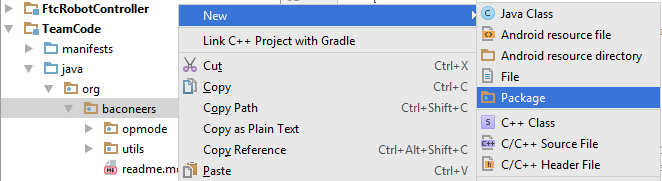
First we need to create a new package directory to hold our configurations. Java uses packages to logically separate code. Right click on the org.baconeers package in the TeamCode project and selct New|Package
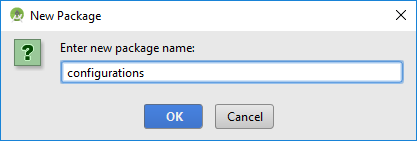
Then enter "configurations" and click OK.
Copy an existing configuration
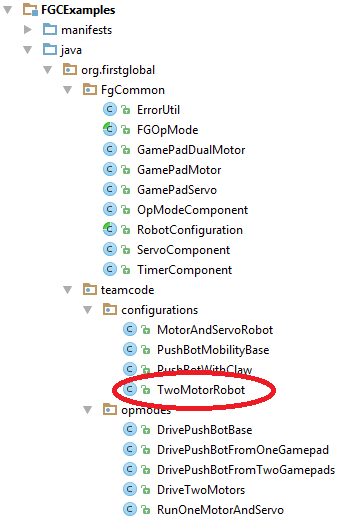
Rather than create a new configuration from scratch, we will copy an existing one from the FGCExamples project. Locate the TwoMotorRobot class in the FGCExamples.
Select the TwoMotorRobot with the left mouse button, and then with the CTRL key held down, drag it using the left mouse button to the new configurations package you just created. The plus sign when you drag indicates a copy, without the CTRL key, the plus sign is not shown and that indicates a move. Keep the CTRL key down until after you release the left mouse button. You will then be presented with a dialog box to copy the class.
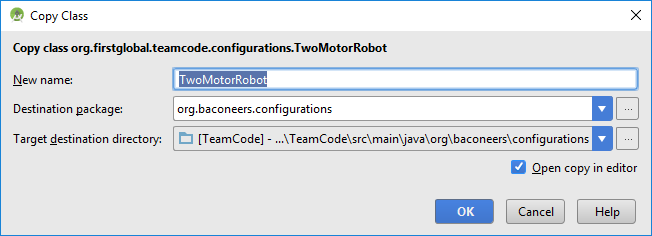
Rename the TwoMotorRobot to EskyBot and click OK

Android studio has renamed the class, but didn't rename the static factory method in the class
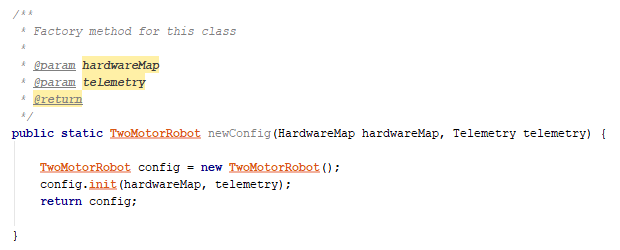
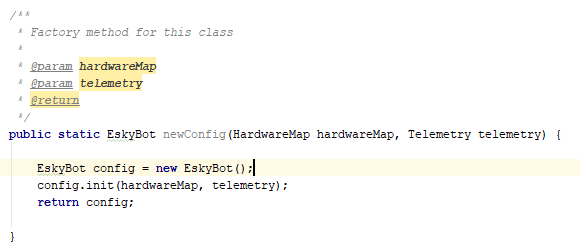
Fix this by changing TwoMotorRobot to EskyBot in the code section above.
Configuring the hardware
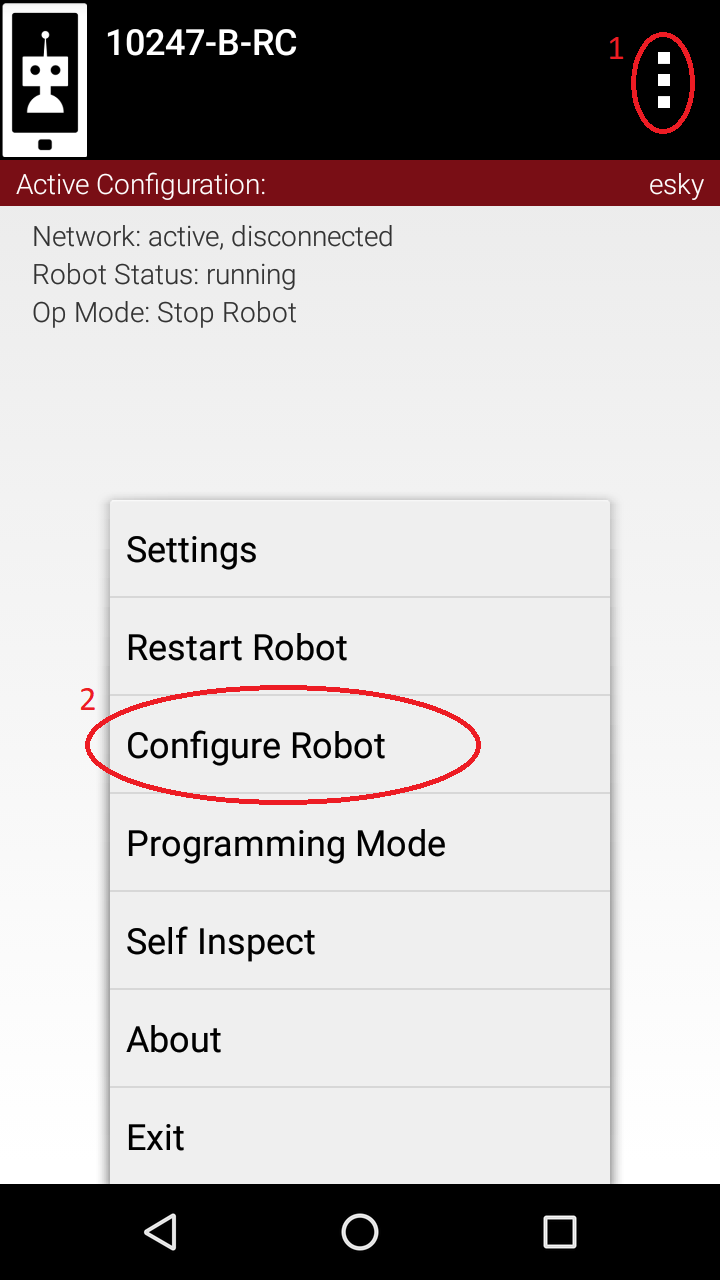
We need to make sure that the names assigned to the motors on EskyBot match the names we use in the configuration. To check the robot configuration, connect the robot controller android phone to EskyBot via USB cable and turn the EskyBot controller on. After the robot has been detected by the robot controller, click the hamburger indicated by 1, and the select configure robot (indicated by 2)
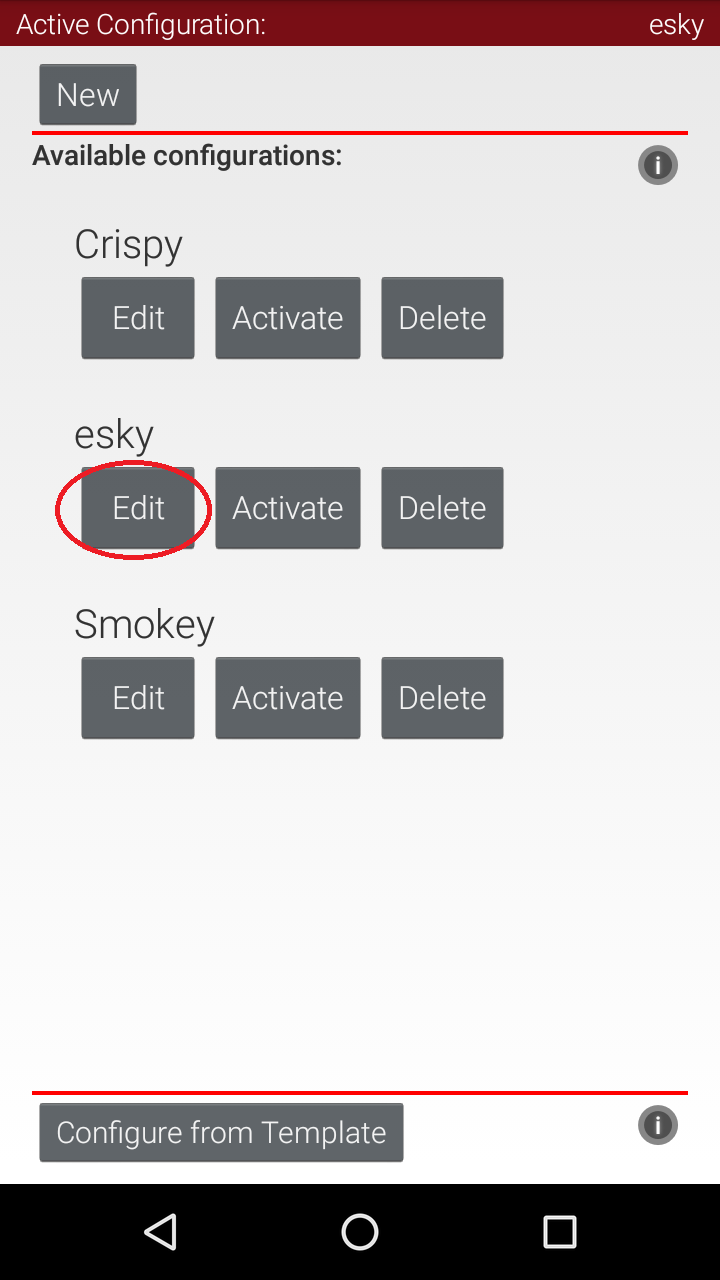
The robot controller will then show the stored configurations. Select Edit on the EskyBot configuration.
Select the motor controller to show the motors that have been configured for the motor controller and you will see a screen like below:
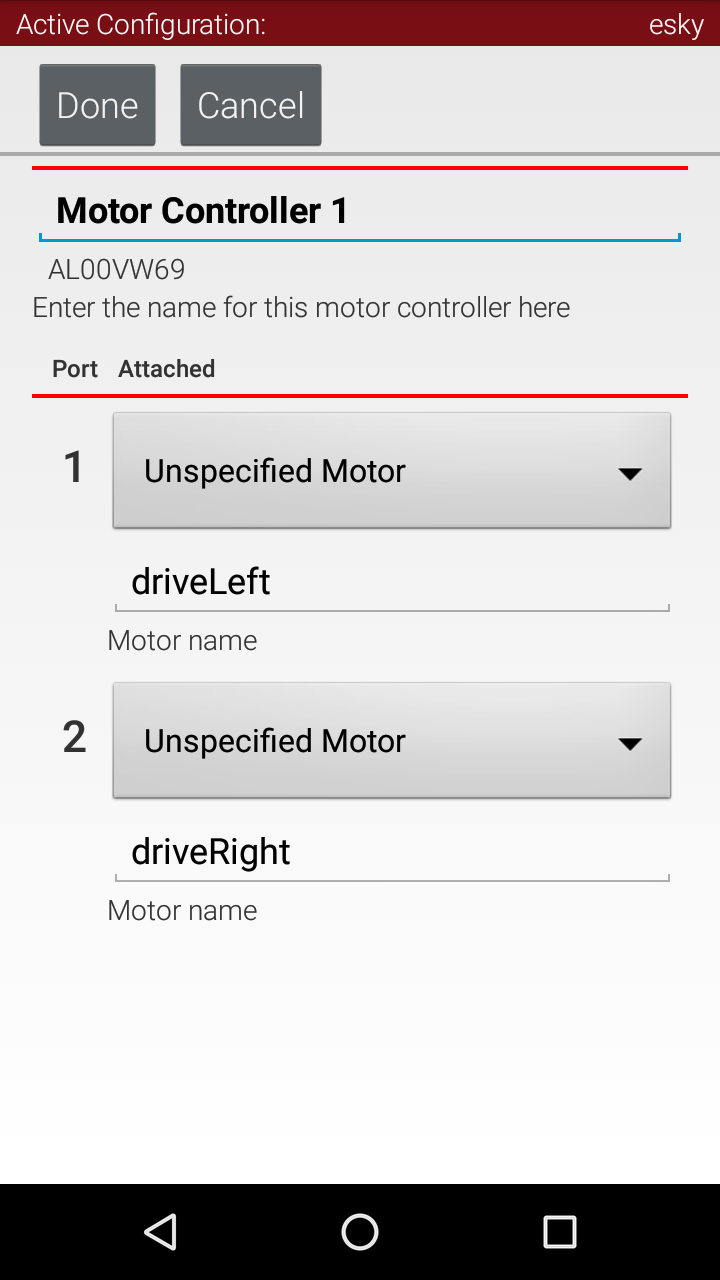
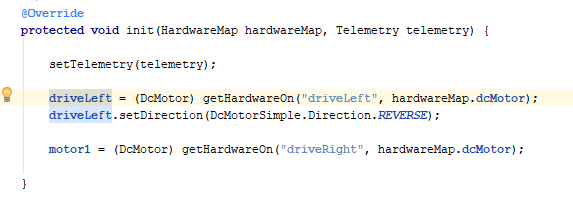
We can see that the two motors are called driveLeft and driveRight. If you remember from above, the EskyBot configuration used motor1 and motor2, so we need to change that to driveLeft and driveRight. Open the EskyBot.java in AndroidStudio and change the motor names in the init() method so that it looks like:
    protected void init(HardwareMap hardwareMap, Telemetry telemetry) {

        setTelemetry(telemetry);

        motor0 = (DcMotor) getHardwareOn("driveLeft", hardwareMap.dcMotor);
        motor0.setDirection(DcMotorSimple.Direction.REVERSE);

        motor1 = (DcMotor) getHardwareOn("driveRight", hardwareMap.dcMotor);

    }
Note that the variable names are still motor0 and motor1. To make the code easier to read and understand we can choose to rename the variable names to match the configured names. We don't have to do this, it just makes it easier for you or someone else to understand what is going on.
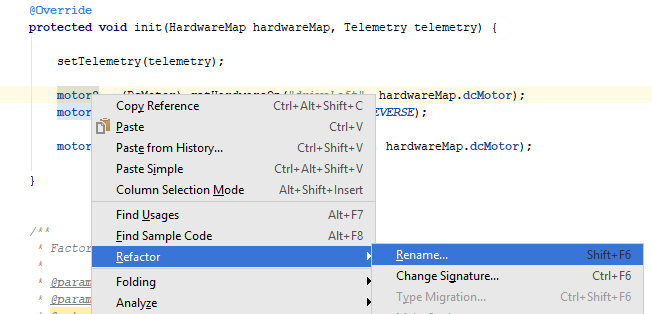
We'll use AndroidStudio to refactor the variables to be a new name. AndroidStudio will rename all usages of the variable name in one go. To do this, place the cursor on the variable name motor0, any instance will do, and press Shift-F6 or right-click and select Refactor|Rename.
AndroidStudio will highlight the variable to be changed and you can start typing to rename.
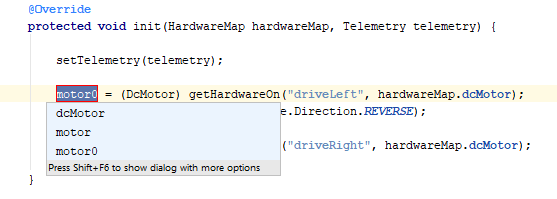
Type in driveLeft. As you type you will see all the usgaes of that variable being changed as well.
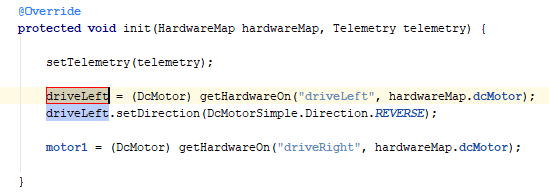
Press Enter to finish renaming.
Now do the same to refactor motor1 to be driveRight.