Adding a loop timer
This step continues from the previous step. If you haven't completed the previous step you can switch to the tutorial02b branch.
In tutorial 1 we used a loop timer and found that the time between loops varied quite a bit just with the different ways of using the telemetry class. This section will show how much checking the gamepad and setting power on the motors changes the loop time.
To add a loop timer we can use the MovingAverageTimer class from tutorial 1. In tutorial 1 our OpMode used LinearOpMode as a base class, the Tank Drive OpMode uses the FGOpMode as a base class so adding the MovingAverageTimer is a little different.
The FGOpMode class uses the autoClear mode that LoopTimer1 and LoopTimer2 uses, so we will try that first.
We first need to add a class member variable for our MovingAverageTimer class which we will call avg.
public class TankDrive extends FGOpMode {

    private EskyBot robot;
    private GamePadMotor  leftWheel;
    private GamePadMotor  rightWheel;
    private MovingAverageTimer avg;
We then need to initialise it in the onStart() method. The first parameter to the MovingAverageTimer class is the number of samples to average over, so this will perform a moving average of 100 samples.
    @Override
    protected void onStart() throws InterruptedException {
        super.onStart();
        leftWheel = new GamePadMotor(this,  gamepad1, robot.driveLeft, GamePadMotor.Control.LEFT_STICK_Y);
        rightWheel = new GamePadMotor(this,  gamepad1, robot.driveRight, GamePadMotor.Control.RIGHT_STICK_Y);

        avg = new MovingAverageTimer(100);
    }
We finally need to update it and use the telemetry object to display it in the activeLoop() method.
@Override
protected void activeLoop() throws InterruptedException {
//update the motors with the gamepad joystick values
leftWheel.update();
rightWheel.update();
avg.update();
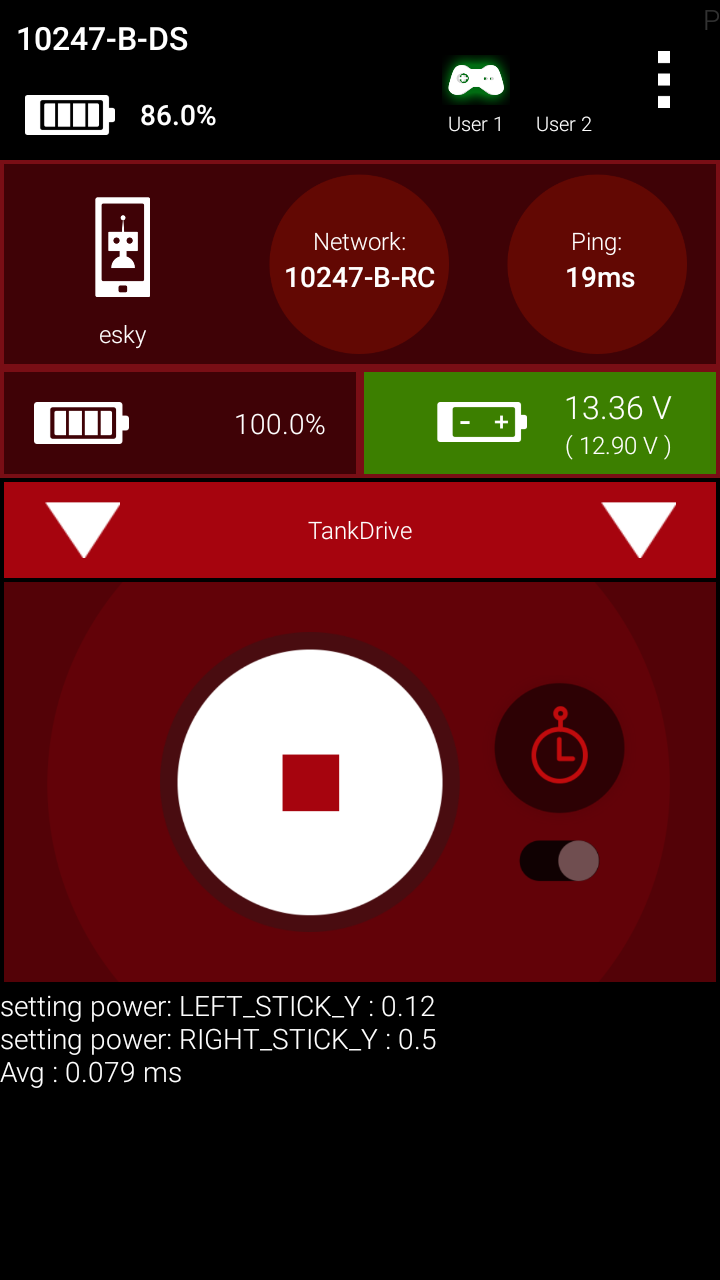
telemetry.addData("Avg","%5.3f ms",avg.movingAverage());
}
Running this on the robot we should see something like below. It is interesting to not that this is very similar to the time seen in LoopTimer1